
The Arizer Solo v2 dry herb vaporizer comes outfitted with Arizer’s most succesful vaping engine and a collection of recent options and settings. Earlier than you deep-dive into the Solo 3’s pool of enjoyable, use our quickstart information to go from unboxing to vaping very quickly. Let’s get into it.
Fast abstract
1. Totally cost
2. Be taught the controls
3. Run a burnoff
4. Grind and pack the stem
5. Click on to On-demand Mode and set the temperature
6. Fireplace it up and take a success
7. Empty the stem if you’re completed
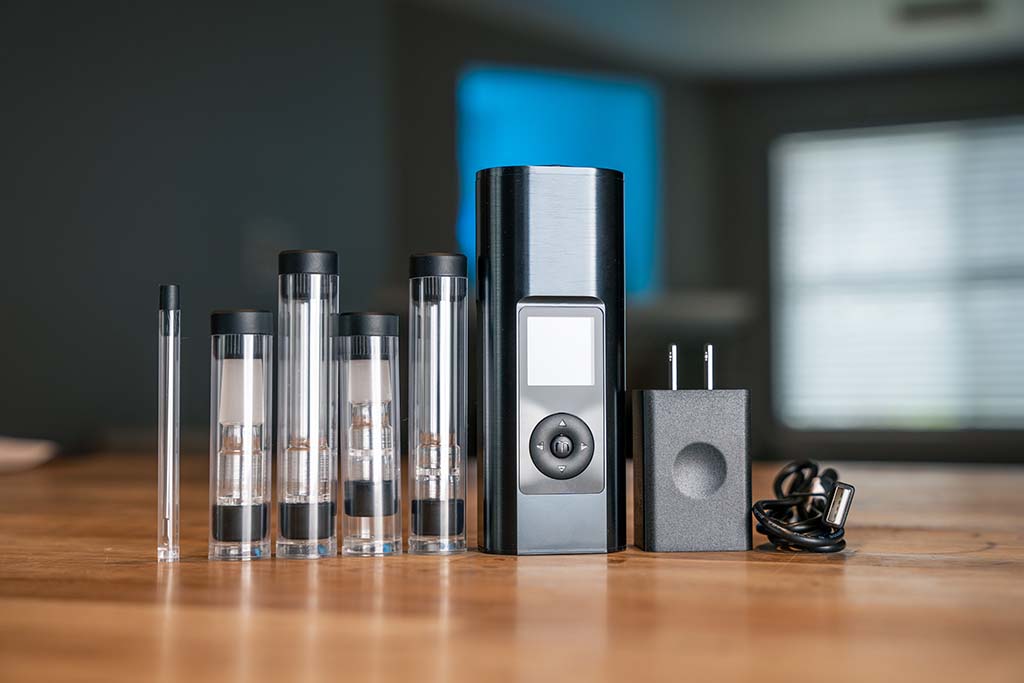
What’s within the field
- 1 x Solo 3 Vaporizer
- 1 x USB-C Charger (5v,3A)
- 1 x XL Glass Aroma Tube (90mm)
- 1 x XL Frosted Glass Aroma Tube (14mm)
- 1 x Air/Solo Glass Aroma Tube (90mm)
- 1 x Air/Solo Frosted Glass Aroma Tube (14mm)
- 4 x Air/Solo Silicone Stem Caps
- 2 x PVC Journey Tube w/ Cap (90mm Measurement)
- 2 x PVC Journey Tube w/ Cap (70mm Measurement)
- 1 x Stainless Metal Stirring Software
- 4 x Air/Solo Stainless Metal Filter Screens
- 1 x Solo 3 Proprietor’s Handbook
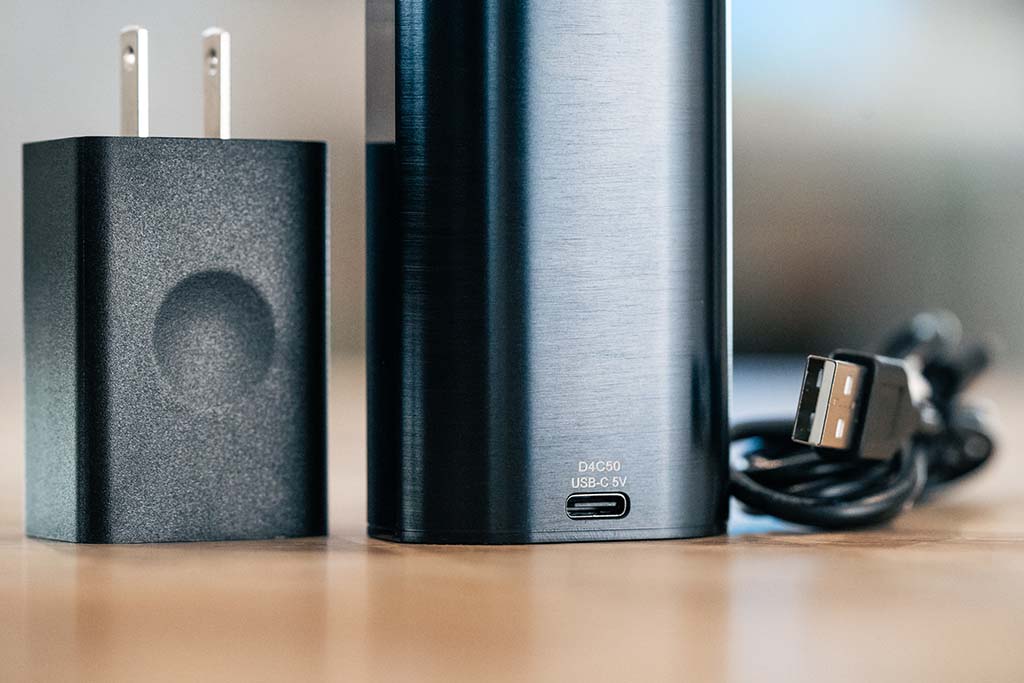
Totally cost your Solo 3
Let’s high off your Arizer Solo 3 vaporizer with a full cost earlier than we dive straight in. Take the included cost cable and adapter and plug it into the closest energy outlet. The display screen will mild up with its present cost and sign when it’s able to go.
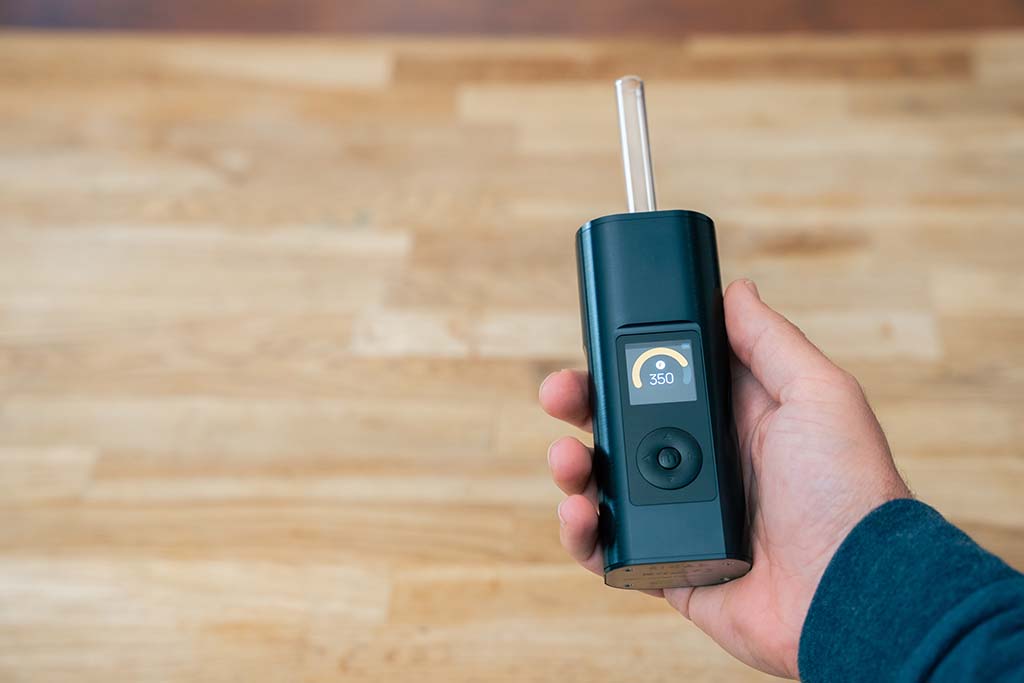
Refined controls
The controls on the Solo 3 transportable vaporizer are removed from intuitive, particularly from the beginning, however will turn out to be simpler the extra you utilize it. It comes with multidirectional buttons – up, down, left, and proper – and a button within the center.
To show it on:
- Maintain the Center button for 3 seconds till three dots seem.
- Launch the Center button and the lock will seem. In the event you don’t launch the middle button, the Solo 3 will stare at you and go clean.
- Press Left.
- Press Up.
- Press Proper (this Left-Up-Proper sequence is printed on the underside of the vape).
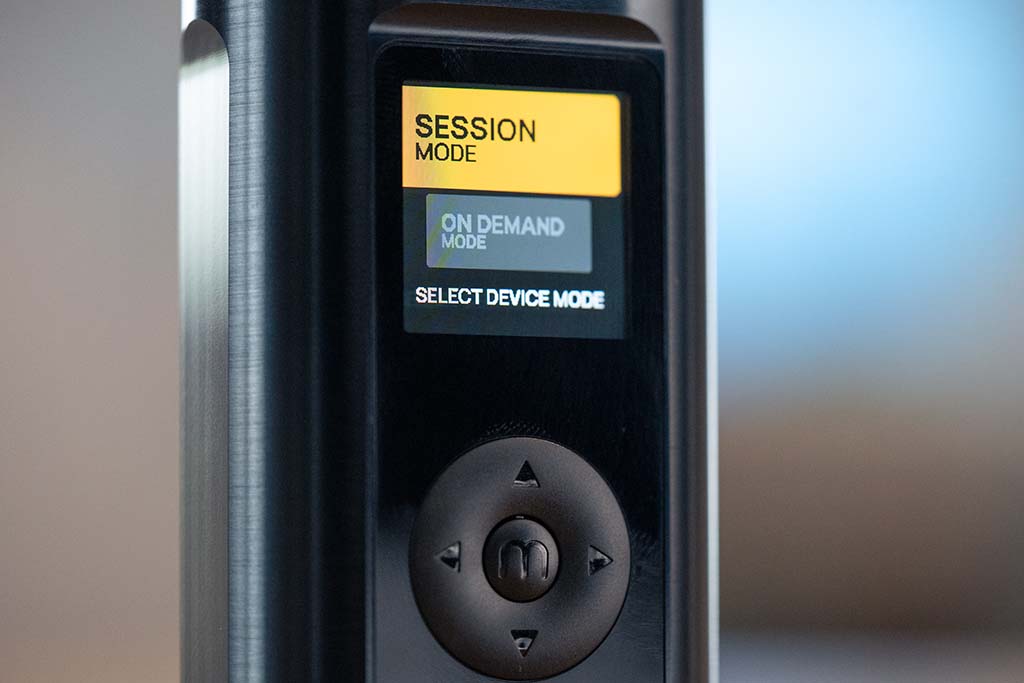
As soon as greeted by the menu, spotlight Session or On-Demand mode utilizing the Up and Down buttons. Press the Center button to pick out the warmth mode.
Notice: The Solo 3 v2 means that you can flip this sequence off. To do that, maintain the ‘proper’ button for just a few seconds whereas in a warmth mode, scroll to the best till you get to the ‘lock display screen’ setting, and set to ‘off’.
In Session mode:
- Use the Up and Down buttons to pick out your required temperature. The Solo 3 will start heating.
In On-Demand mode:
- Double-tap the left or proper buttons to pick out between three temperatures.
- Press As much as begin the heater.
Cleanse the Solo 3 with a burnoff
We at all times counsel an preliminary burnoff session to scrub and sanitize the heating chamber and bowl of any manufacturing residues.
To do that, flip your Solo 3 on to Session Mode and set it to 428°F. Click on the middle button as soon as to verify the temperature and once more to activate the heater. Let it run till it shuts off.
Grind and pack the stem
The Solo 3 vaporizer comes with 4 completely different stems: two glass aroma tubes – authentic and XL – and two water pipe adapters – authentic and XL. We’ll use the unique glass aroma tube (the one with the smaller bowl) for this primary session.
Grind your herbs to a medium consistency and fill the stem with floor herbs. Gently press the herbs into the bowl till there may be about two millimeters of distance between the herbs and the sting of the bowl.
As soon as the Solo 3 has cooled down from the burnoff, take the crammed stem and insert it into the oven.
Flip it on to On-demand Mode and set the temperature
We’ll follow On-demand hits for this primary session. Flip your Solo 3 on and set it to On-demand Mode. Double-click the “Left” or “Proper” buttons to cycle by means of the preset temperatures and choose Temperature III (392°F / 200°C).
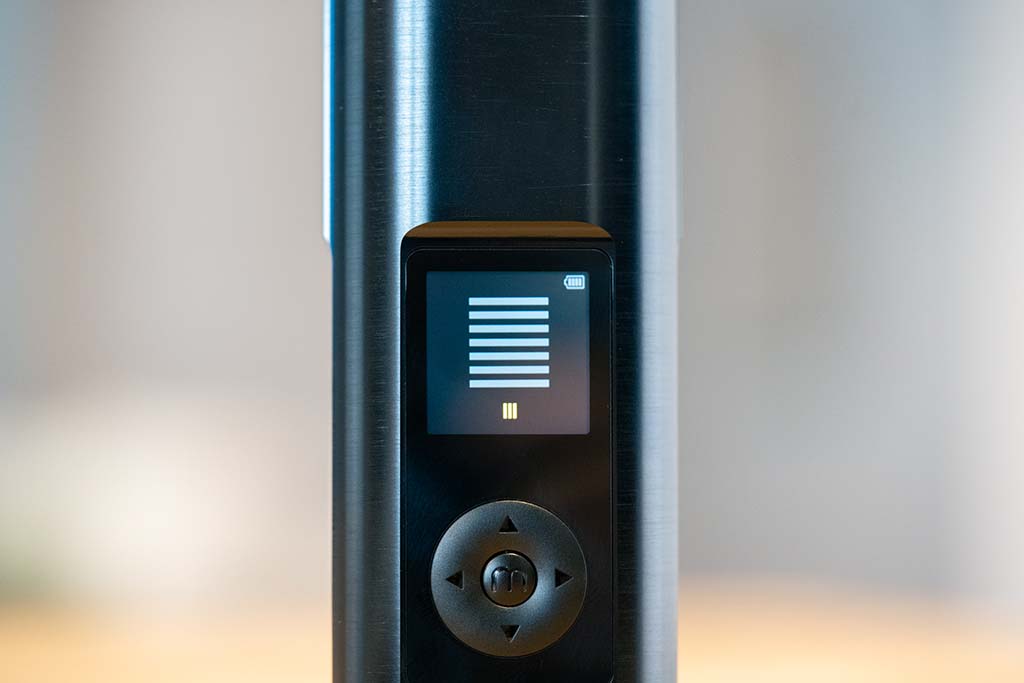
Fireplace it up and take a success!
Whenever you’re prepared, press “Up” to have interaction the heater and look ahead to it to succeed in temperature. As soon as the yellow bars climb to the highest, it is able to hit.
Whenever you’re prepared, take a protracted, sluggish draw till the Solo 3 beeps (default time is 15 seconds). It’s okay should you can’t hit it for that lengthy. If you would like extra, take one other lengthy hit after the heater turns off. There’s nonetheless loads of warmth in there.
Empty the stem if you’re completed
Whenever you’re all completed and the oven has cooled a bit, take away the stem and blow the spent herbs into the trash. Do that whereas the stem continues to be a bit heat to forestall the herbs from sticking to the partitions. And that’s it!
It’s all yours from right here!
The Solo 3 comes with quite a lot of settings and modes to cater to your particular vaping wants. Experiment with completely different temperatures, vaping modes, draw types and strategies till you discover your excellent candy spot.